What to Expect During Roof Installation Day
What to Expect During Roof Installation Day
If you’ve scheduled a roof replacement, you may be wondering what roof installation day actually looks like. From the noise and equipment to the step-by-step roof installation process, it helps to understand what roofing contractors will be doing on your property. Whether you’re upgrading materials, reviewing roof replacement cost, or simply preparing your home and family, this guide will walk you through everything that happens on installation day.
What Happens on Roof Installation Day?
A Step-by-Step Guide
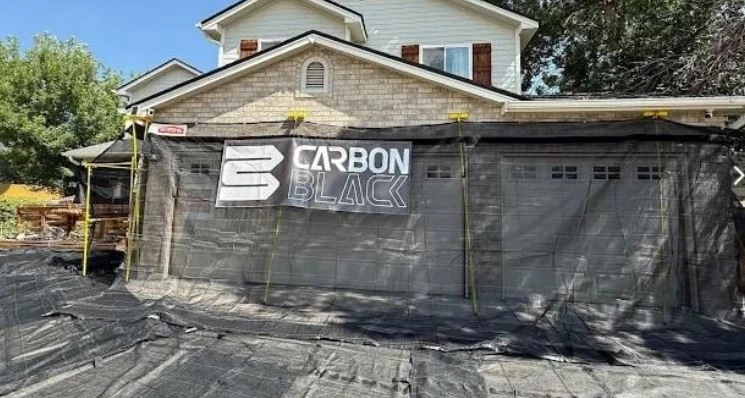
Step 1: Contractor Arrival and Jobsite Preparation
Your roofing team typically arrives early with materials, equipment, dumpsters, and protective coverings.
They will:
• Park work vehicles strategically
• Set up safety equipment
• Cover shrubs, windows, and landscaping
• Move outdoor furniture or request your assistance
• Protect siding and walkways
This preparation helps minimize mess and ensures your property is protected throughout the roof installation process.
Step 2: Removing the Old Roof
Next comes the tear-off, which includes removing:
• Old shingles
• Ridge caps
• Underlayment
• Flashing
• Nails and fasteners
• Damaged roofing accessories
Crews carefully dispose of old materials in designated dumpsters. This phase is noisy but usually efficient and completed within a few hours for average-sized homes.
Step 3: Inspecting and Repairing the Roof Decking
Once the old roofing materials are removed, the contractor inspects your decking for:
• Rot or mold
• Soft or weak spots
• Water damage
• Structural concerns
Any compromised sections are replaced to ensure a safe, long-lasting new roof installation.
Learn more about roof structures here:
Step 4: Installing the Underlayment and Waterproof Barriers
This step is essential for protecting your home from moisture and weather.
Underlayment installation includes:
• Synthetic felt or premium underlayment
• Ice and water shield in valleys and edges
• Updated drip edge installation
High-quality underlayment helps enhance durability and storm resistance.
See CarbonBlack’s resilient options here:
Step 5: Installing the New Roofing Materials
Once the deck and underlayment are complete, it’s time to install shingles, metal panels, or tile based on your roof replacement selection.
This stage includes:
• Shingle or panel installation
• Securing fasteners
• Installing flashing around chimneys and vents
• Ensuring proper sealing at transitions
• Finishing with ridge caps along the roof peak
Proper installation is key to long-term performance and weather protection.
Step 6: Updating or Installing Ventilation Systems
Ventilation is a crucial part of the roofing system and affects energy efficiency and material lifespan.
Your contractor may install:
• Ridge vents
• Soffit vents
• Roof turbines
• Gable vents
Balanced airflow prevents moisture buildup and reduces heat stress on your roof.
Step 7: Jobsite Cleanup and Final Inspection
Once installation is complete, crews will:
• Remove all debris, tarps, and old materials
• Sweep the area for nails (often with magnetic tools)
• Clean gutters and walkways
• Perform a final inspection
• Review the installation results with you
A good contractor ensures your property looks as clean as it did before work began.
Step 8: Walkthrough, Warranty, and Documentation
Before crews leave, you may receive:
• Material warranty information
• Installation or workmanship warranty
• Photos of completed work
• Final cost summary
• Maintenance tips
Tips to Prepare Your Home for Roof Installation Day
Homeowners can make installation day smoother with these simple steps:
• Park vehicles away from the driveway
• Move patio furniture or fragile outdoor décor
• Keep pets indoors or in a quiet room
• Protect valuable items in the attic from dust
• Notify neighbors of the construction schedule
These small preparations help avoid delays and protect your belongings.
How Roof Installation Day Affects Roof Replacement Cost
Several factors impact final cost, including:
• Material selection (asphalt, metal, tile)
• Labor time required
• Decking repairs
• Roof size and complexity
• Local contractor rates
External resources for cost and standards:
- Owens Corning Roofing Costs Breakdown
- NRCA Roofing Standards
Plan Your Roof Installation with Confidence
Know what to expect and who to trust. Schedule your free consultation with CarbonBlack to ensure a smooth, storm-ready roof installation day.
FAQ
1. How long does roof installation day take?
Most installations take one to two days, but larger homes or specialty materials may require additional time.
2. Home during installation?
You don’t have to be home, but many homeowners prefer to stay available for questions or walkthroughs. Be prepared for noise throughout the day.
3. Will installation day be messy?
Tear-off is messy, but reputable roofing contractors handle proper cleanup with tarps, dumpsters, and magnet sweepers.
4. Can weather delay my roof replacement?
Yes. Rain, snow, and high winds can delay installation. Contractors monitor weather closely to protect your home.
5. How do I choose the right roofing materials?
Your climate, budget, and style preferences will guide the decision. For a roofing materials comparison, consult manufacturer websites and local contractor recommendations.
Key Takeaways
• Roof installation day includes preparation, tear-off, repairs, installation, and cleanup.
• Underlayment and ventilation are crucial for long-term roof performance.
• Homeowners can prepare by protecting vehicles, pets, and attic belongings.
• Roof replacement cost varies by material, labor, and roof condition.
• Carbon Black provides expert support for a smooth installation experience.